Proper game handling is the most critical, yet often overlooked, aspect of a successful hunt. It is a discipline that begins the moment an animal is harvested and ends only when the meat is served at the table. This is the core of the “field-to-table” philosophy—a commitment to hygiene, respect for the animal, and the pursuit of the highest quality wild game possible. Failing to manage this process correctly can lead to spoilage, gamey flavors, and potential food safety hazards. This guide provides a comprehensive framework for mastering game preservation, transforming your harvest into a culinary prize through meticulous hygiene management.
The Core Philosophy: Field-to-Table Hygiene Management
The field-to-table journey is governed by a simple but unforgiving principle: you can never make meat cleaner, only prevent it from getting dirtier. This philosophy requires a proactive approach to hygiene at every single stage. The primary enemies of fresh game meat are heat, moisture, and bacteria. Understanding how these elements work is fundamental to preservation.
Why Hygiene is Non-Negotiable
From the moment of harvest, a race against the clock begins. The animal’s internal body heat (typically over 100°F) acts as a perfect incubator for bacteria. Microorganisms present on the hide, in the digestive tract, and from the environment can multiply rapidly, leading to spoilage and the development of off-flavors. Proper hygiene isn’t just about taste; it’s about food safety for you and your family.
The Three Pillars of Game Preservation: Clean, Cool, Dry
Every action you take should support one of these three pillars:
-
Clean:
Prevent contamination from dirt, hair, and intestinal contents. Use clean knives, gloves, and surfaces. -
Cool:
Rapidly reduce the meat’s temperature to below 40°F (4°C) to slow bacterial growth to a near halt. -
Dry:
Moisture is a breeding ground for bacteria. A dry surface on the carcass inhibits microbial growth. This is especially critical during transportation and aging.

The Critical First Hour: Immediate Post-Harvest Actions
The decisions made within the first 60 minutes of a harvest have the greatest impact on meat quality. The primary goal is to begin the cooling process immediately by efficiently field dressing the animal.
The Art of Field Dressing: A Step-by-Step Guide
Field dressing (or “gutting”) is the process of removing the internal organs to allow the carcass to cool quickly.
-
Position the Animal:
Place the animal on its back, preferably on a clean tarp or elevated ground to keep the cavity clean. -
Make the Initial Incision:
Using a sharp, clean knife, make a shallow incision through the skin from the breastbone down to the pelvis. Be careful not to puncture the stomach or intestines. -
Cut Around the Anus:
Carefully cut around the anus and rectum to free the lower intestine, which will be removed with the rest of the viscera. -
Split the Pelvis and Sternum:
If possible and safe, use a saw to split the pelvic bone and sternum. This allows for maximum air circulation and faster cooling. -
Remove the Organs:
Reach into the body cavity, cut the diaphragm away from the ribs, and sever the windpipe and esophagus. Gently pull all the organs out of the cavity. -
Drain and Wipe:
Prop the carcass open with a clean stick and wipe the cavity with paper towels or a clean cloth. Avoid using water unless you can dry it thoroughly immediately after.
Essential Field Dressing Kit Checklist
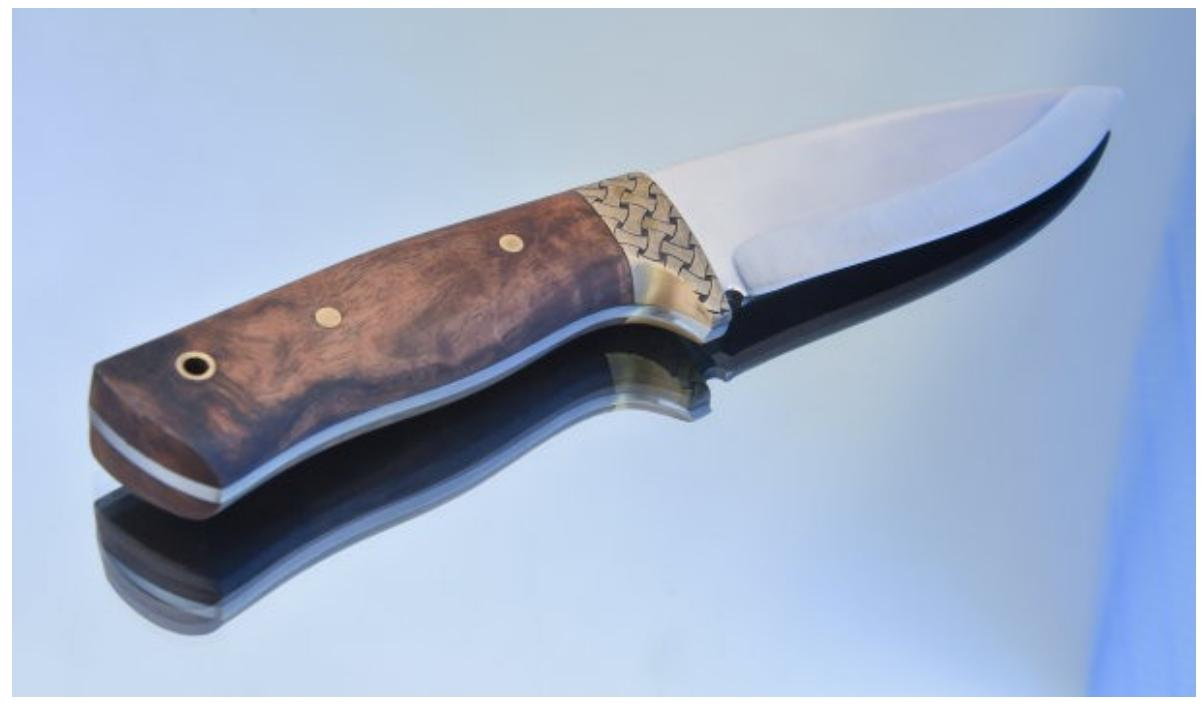
- Sharp Hunting Knife (fixed blade and/or replaceable blade)
- Butt-Out Tool or Coring Knife
- Bone Saw (compact size)
- Nitrile or Latex Gloves (multiple pairs)
- Paper Towels or Clean Game Cloth
- Game Bags for protecting the meat
- Tarp to keep the carcass clean
- Headlamp or Flashlight
From the Field to the Cooler: Safe Transportation and Aging
Once the animal is field-dressed, the next challenge is transporting it while maintaining the “Clean, Cool, Dry” principles. After transport, proper aging can dramatically improve the meat’s flavor and tenderness.
The Science of Aging Game Meat
Aging is the process of letting the meat rest in a controlled, cold environment. During this time, natural enzymes within the muscle fibers break down tough connective tissues, resulting in more tender meat. This process also allows some moisture to evaporate, concentrating the flavor. The ideal aging temperature is between 34°F and 40°F (1-4°C).
Wet Aging vs. Dry Aging: A Comparison
There are two primary methods for aging meat. The choice depends on your equipment and desired outcome.
| Feature | Dry Aging | Wet Aging |
|---|---|---|
|
Process |
The carcass or primal cuts are hung in a temperature and humidity-controlled environment with good air circulation. | The meat is vacuum-sealed in a moisture-impermeable bag and refrigerated. |
|
Flavor Profile |
Develops a more complex, nutty, and robust flavor due to moisture loss and oxidation. | Maintains a milder, fresh meat flavor. Some describe it as slightly metallic or sour. |
|
Tenderness |
Excellent tenderization. A hard, dry crust (pellicle) forms and must be trimmed off, resulting in some yield loss. | Excellent tenderization with no yield loss, as all moisture is retained in the bag. |
|
Best For |
Hunters with dedicated aging coolers or walk-ins. Ideal for developing premium flavor in prime cuts. | Hunters with limited space. Simple and effective for all cuts of meat. |
Expert Tips for Pristine Game Meat
Elevate your game handling from good to great with these professional insights.
-
Shot Placement Matters:
A clean, ethical shot to the vital organs (heart/lungs) minimizes adrenaline release and prevents contamination of large muscle groups from a gut shot. -
Never Use Water Casually:
Only rinse the body cavity if absolutely necessary (e.g., gut-shot contamination). If you do, you must dry it immediately and thoroughly with paper towels. Water promotes bacterial growth. -
Pack Ice Correctly:
When using a cooler, never let meat sit directly in melted ice water. Place meat on a rack or in sealed bags to keep it dry. You can also use frozen water bottles, which won’t leak as they thaw. -
Skin On or Skin Off?:
If you can get the carcass into a clean, cold environment (like a walk-in cooler) quickly, leaving the skin on can protect the meat from drying out and contamination. If the weather is warm, skinning it immediately will help it cool much faster. -
Label Everything:
When you butcher and package your meat, label each package with the species, the cut of meat, and the date of harvest. This ensures you use the oldest meat first and know exactly what you’re cooking.
Frequently Asked Questions (FAQ)
-
How long can I hang a deer to age?
- The ideal duration depends entirely on temperature. In a controlled environment between 34-40°F (1-4°C), you can safely age a deer for 7 to 14 days. If temperatures are warmer, the time must be drastically reduced to avoid spoilage. Never age meat above 40°F.
-
What causes a “gamey” taste in wild meat?
- The “gamey” taste is often a result of poor handling, not the meat itself. Primary causes include slow cooling, contamination from gut contents or glands (like the tarsal gland), and failure to trim away all fat and silver skin before cooking, as the fat is where many strong flavors are stored.
-
Is it safe to eat meat from a gut-shot animal?
- Yes, but it requires immediate and meticulous attention. You must cool the animal down as fast as possible and carefully trim away any meat that came into direct contact with stomach or intestinal contents. Rinsing the cavity with a vinegar-water solution can help kill surface bacteria, but be sure to dry it completely.
-
What is the best way to freeze game meat?
- The best method is to use a vacuum sealer. This removes all oxygen, preventing freezer burn and preserving the quality of the meat for up to 2-3 years. If you don’t have a vacuum sealer, use high-quality freezer paper, wrapping the meat tightly first in plastic wrap and then in the paper to create multiple barriers against air.
-
Do I need to bleed the animal after shooting it?
- In most cases, a lethal shot to the chest cavity results in massive internal bleeding that effectively bleeds the animal out. The process of field dressing will remove the majority of this pooled blood. Additional bleeding by cutting the throat is generally unnecessary and can introduce contaminants to the neck meat.